<<< How-to guides
Most educators will, at some stage, find the need to present pictures or video captured directly from a computer screen.
OS X, Chrome OS, Windows and iOS provide built-in screen capture capabilities.
Listed below is some info about these built-in mechanisms, as well as links to 3rd party apps, which provide video and other more advanced capabilities.
| OS X |
 |
Built-in options
- Cmd-Shift-3
Takes a snapshot of the entire screen, (with camera sound effect!) and saves it automatically to the user’s desktop.

- Cmd-Shift-4
Converts your cursor to a “cross-hair”, allowing you to define a specific rectangular area of the screen to capture. This includes drop down menus, after you release the mouse button.
- Cntrl-Cmd-Shift-4
Same as above, except the captured image is pasted to the Clipboard, rather than being stored on the desktop. The image can then be pasted directly into a document.
- Capture an entire window only
To capture a particular window, in the Finder or an application, follow the Cmd-Shift-4 options above to capture a particular area of the screen, then press the space bar after you see the cross-hair.
The cross-hair will change to a camera which you can click on the chosen window to capture to the desktop or clipboard.
3rd Party screen capture and video apps….
|
| |
| iOS |
 |
Built-in option
- Hold down the Home button (the main button below the screen), and simultaneously press and release the sleep/on-off button at the top of the iPhone/iPod/iPad.
Your screen will flash white for a second (along with a camera shutter sound) then return to the original screen.
The captured screen image will be saved to the Camera Roll album. You can then access the saved image as you would for any other photo in that album. (Send the image to yourself, or use the PhotoStream feature in Photos to access the image in OS X.)
|
| |
| Chrome OS |
 |
Built-in options
- Ctrl + Window Switcher key
Captures the whole screen. The captured image is saved to the downloads/files folder on the Chromebook.

- Ctrl + Shift + Window switcher key
To capture a specific area of the screen just add shift to the key combo. The captured image is saved to the downloads/files folder on the Chromebook.
|
| |
| Windows |
 |
Built-in options
- Print Screen (Key on keyboard)
Captures the entire screen to the clipboard.
- Alt-Print Screen
Captures the active window to the clipboard.
These images can be edited in the Paint accessory program, or in the paint module of your favourite image editing application.
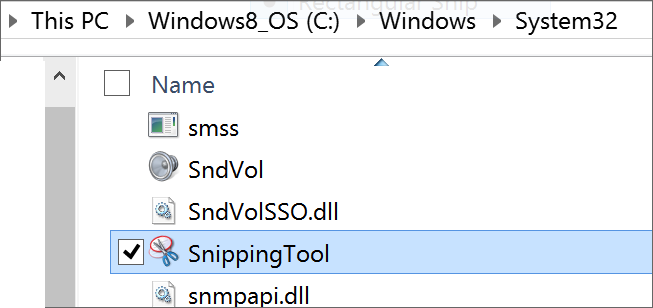
- Snipping Tool
Navigate to C: > Windows > System32 > Snipping Tool.
Right-click Snipping Tool and choose to Pin to Task Bar
Follow how-to-use instructions in app window.
3rd Party Utilities…
|
| |
| |