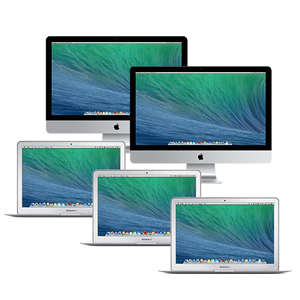
 School-owned OS X devices can be easily managed through ‘re-imaging’ – capturing an image of the ‘perfect’ software and configuration setup, then transferring that image to other computers.
This re-imaging can be undertaken on an individual computer, using an external hard disk, or multiple computers can be re-imaged concurrently if connected to a network server.
Settings and permissions on computers, based on users’ authentication credentials, can also be managed if the computers are connected to a management server.
However, in the modern era, it is more likely that computers will have a standard base image, and that students (or teachers) using the computers will simply be authenticating to ‘cloud’ services through a web browser for accessing their stored files.
The step-by-step guides below provide information about re-imaging OS X computers individually using a USB HD. These notes (Step 2) also include information about permanently modifying the OS X Guest user account, for use with cloud services such as Google Drive.
Previous information about re-imaging OS X devices from a network server is available at wazmac’s legacy Device Management page >>>
| Step 1 | |
 |
Prepare an external USB HD (pdf) |
 |
|
| Step 2 | |
 |
Install OS X & configure users (including Guest) (pdf) |
 |
|
| Step 3 | |
 |
Create a Master image (pdf) |
 |
|
| Step 4 | |
 |
Restore from a USB HD (pdf) |
The info above is currently being updated – previous information below….
| Options for iMacs and MacBooks | ||
 |
||
| Prepare an external HD (pdf) |
||
 |
||
 |
||
| Create a ‘Master’ image (pdf) |
||
 |
||
 |
 |
|