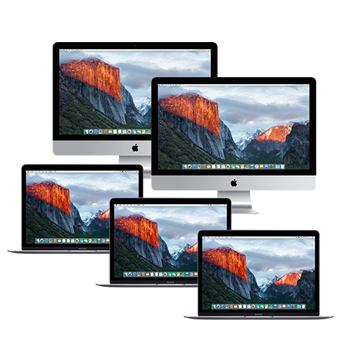
 Software installed on school-owned macOS devices can be easily managed through ‘re-imaging’ – capturing an image of the ‘perfect’ software and configuration setup, then duplicating that image on other computers.
This re-imaging can be undertaken on an individual computer, using an external hard disk (documented below), or multiple computers can be re-imaged concurrently if connected to a network server. (Check out DeployStudio for the network re-imaging option).
Settings and permissions on computers, based on users’ authentication credentials, can also be managed if the computers are connected to a management server.
However, in the modern era, it is more likely that computers will have a standard base image, and that students (or teachers) using the computers will simply be authenticating to ‘cloud’ services through a web browser to access their stored files.
The step-by-step guides below provide information about re-imaging macOS computers individually using a USB HD. (El Capitan and later)
These pages are no longer being regularly updated.
Please consider the notes below to be ‘legacy’ information.
Cloning and duplicating macOS disk images changed substantially with macOS 10.13 (High Sierra), which introduced the new Apple File System (APFS).
Apple’s Disk Utility is currently not suitable for the mass duplication of disks formatted with APFS.
My suggestion (at this stage) is to use a separate USB hard disk (formatted in the HFS+ system) for booting, storing and duplicating images of 10.13 and earlier, and another disk (formatted using APFS) for 10.14 and later images.
The boot volume will require the installation of Carbon Copy Cloner, which can clone APFS volumes and create images of APFS volumes.
The Carbon Copy Cloner web site provides notes and information about how to use the software – it is very straightforward!
Modifying the macOS Guest user account (pdf) >>>
(for use with cloud services such as Google Drive)
| Step 1 | |
 |
Prepare an external USB HD (pdf) |
 |
|
| Step 2 | |
 |
Install & configure a ‘Master’ macOS image (pdf) |
 |
|
| Step 3 | |
 |
Re-image Macs from a USB HD Master Image (pdf) |
 |
|
| Additional Info | |
 |
|
 |
|
 |
Restore a computer from your backup image (pdf) |
|
The above guides are for OS X El Capitan (10.11.x) 05 – 10.14 and later.. |
|